Diy custom integration part2 - Diy custom integration(config_flow)
How to build a custom integration for home assistant: A complete guide for developers.
If you're new to Home Assistant and have some coding experience, you may eventually want to create your own custom integration. This guide is designed to help you get started.
Many beginners struggle to find a complete and beginner-friendly tutorial on developing Home Assistant custom integrations. You may come across important functions such as async_setup_entry, but it can be difficult to understand exactly what they do, when they are called, and what code should be placed inside them.
You may also have looked at different projects on GitHub for examples. However, custom integrations can vary significantly from one project to another, which can make the learning process even more confusing.
This guide will explain the core structure of a Home Assistant custom integration step by step. You will learn how integrations are organized, how configuration entries work, how functions such as async_setup, async_setup_entry, and async_unload_entry are used, and how different platforms communicate with Home Assistant.
By the end of this guide, you should have a clear understanding of how to build your own custom integration and a solid foundation for developing more advanced Home Assistant components.
custom integration
Table of Contents
Install vscode server on rpi
custom_components/
    learn_integration/
        __init__.py
        manifest.json
step 1.create mainfest.json
manifest.json 包含了我们这个组件的基础信息,Home Assistant 在加载的时候会读取。
run ok
{
  "domain": "learn_integration",
  "name": "Learn Integration",
  "version": "v0.1.0",
  "codeowners": ["@mslycn"],
  "config_flow": false,
  "dependencies": [],
  "documentation": "https://github.com/mslycn/learn_integration/blob/main/README.md",
  "integration_type": "hub",
  "iot_class": "cloud_polling",
  "requirements": []
}
此时自定义组件是合法的,如果你放在自己的 Home Assistant config 目录下,Home Assistant 会正常加载,并不会实际创建任何实体(entities)
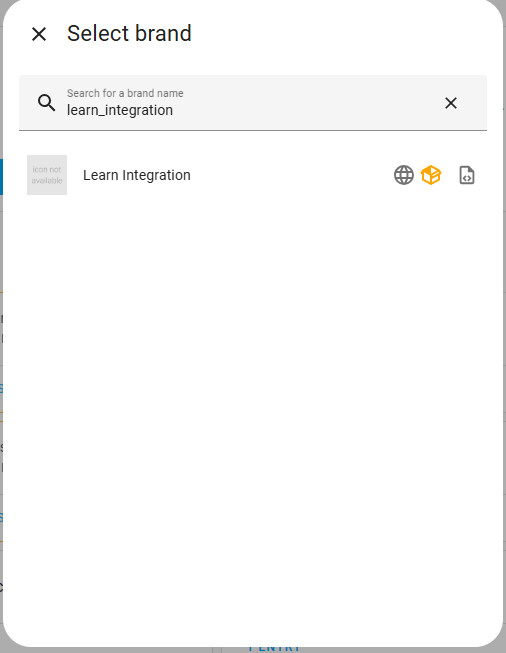
add learn integration
step 2.add __init__.py
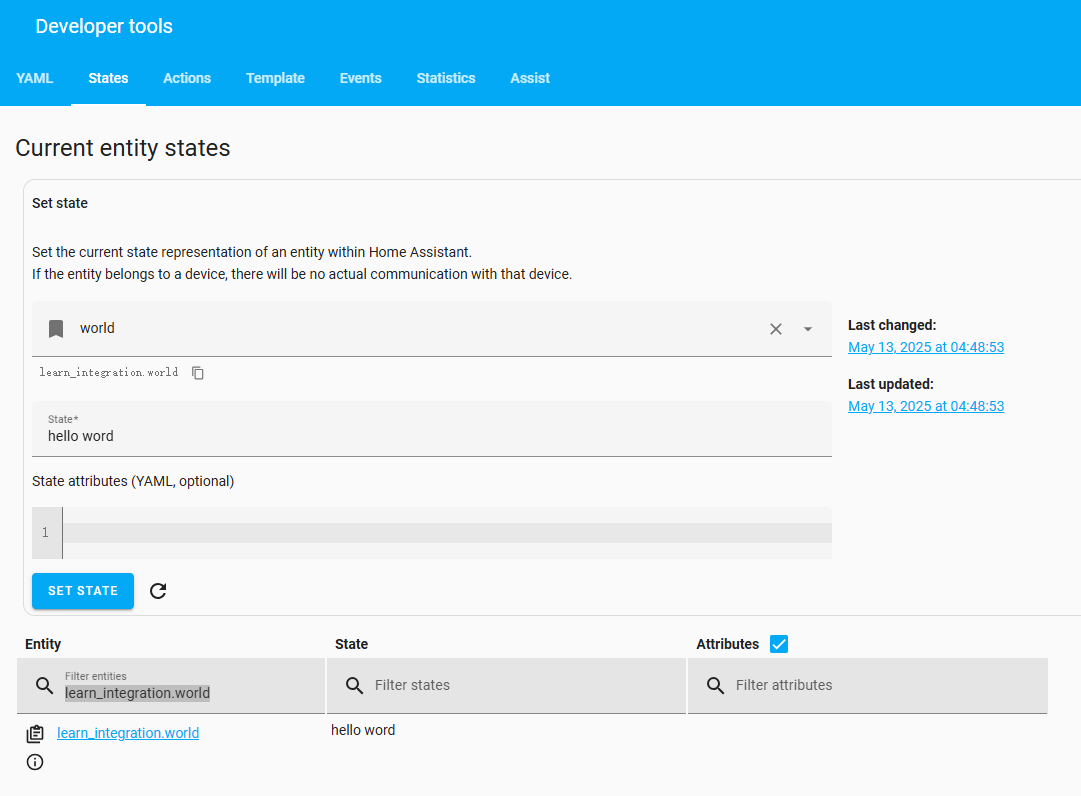
在__init__.py中,创建一个实体(entities)
run ok
import asyncio


DOMAIN = "learn_integration"
# DOMAIN的定义,每个集成只有一个DOMAIN,"learn_integration"。


async def async_setup(hass, config):
    hass.states.async_set("learn_integration.world", "hello word")
    # 在 Home Assistant 状态机中创建一个实体,实体 ID 为 learn_integration.world,状态值为 "hello word",字符串 "hello word",可替换为数值、布尔值或其他类型。。

    # Return boolean to indicate that initialization was successful.
    # 返回 True 表示集成初始化成功;若返回 False,Home Assistant 会记录错误。
    return True

# 初始化组件
# 添加集成后,会执行该函数
async def async_setup_entry(hass, entry):
    # 在这里设置配置流
    return True

# 卸载组件
# 在前端删除集成配置时,会执行该函数
# 关闭HomeAssistant时,会执行该函数
async def async_unload_entry(hass, entry):
    # 卸载配置流
    return True


# come from:https://developers.home-assistant.io/docs/creating_component_index
# https://blog.csdn.net/tre4321/article/details/144350503
# https://blog.csdn.net/gitblog_00687/article/details/141208354
step 3. Add Integration
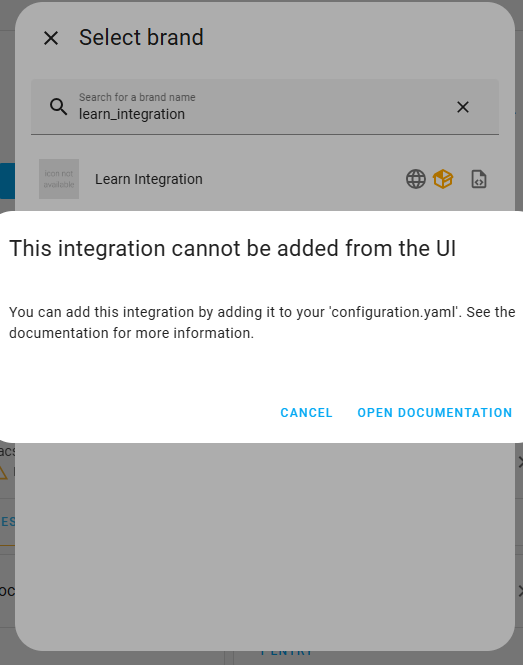
To load this, add learn_integration: to your configuration.yaml file
configuration.yaml
# Loads default set of integrations. Do not remove.
default_config:

# Load frontend themes from the themes folder
frontend:
  themes: !include_dir_merge_named themes

automation: !include automations.yaml
script: !include scripts.yaml
scene: !include scenes.yaml
input_boolean: !include input_boolean.yaml

learn_integration:

# https://www.home-assistant.io/integrations/recorder
recorder:
  #purge_interval: 2
step 4.test
restart ha
在开发者工具 → 状态中搜索 learn_integration.world,可见状态为 hello word
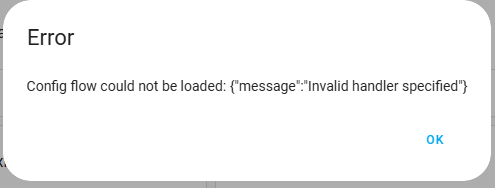
add flow =true
http://localhost:4999/boards/topic/14510/how-to-building-a-home-assistant-custom-integration-step-by-step
Comments
Comments are closed