ESPHome - ESP8266 + ASRPRO
ESPHome - ASRPRO+ESP8266 12f
home assistant OS
ESPHome addon
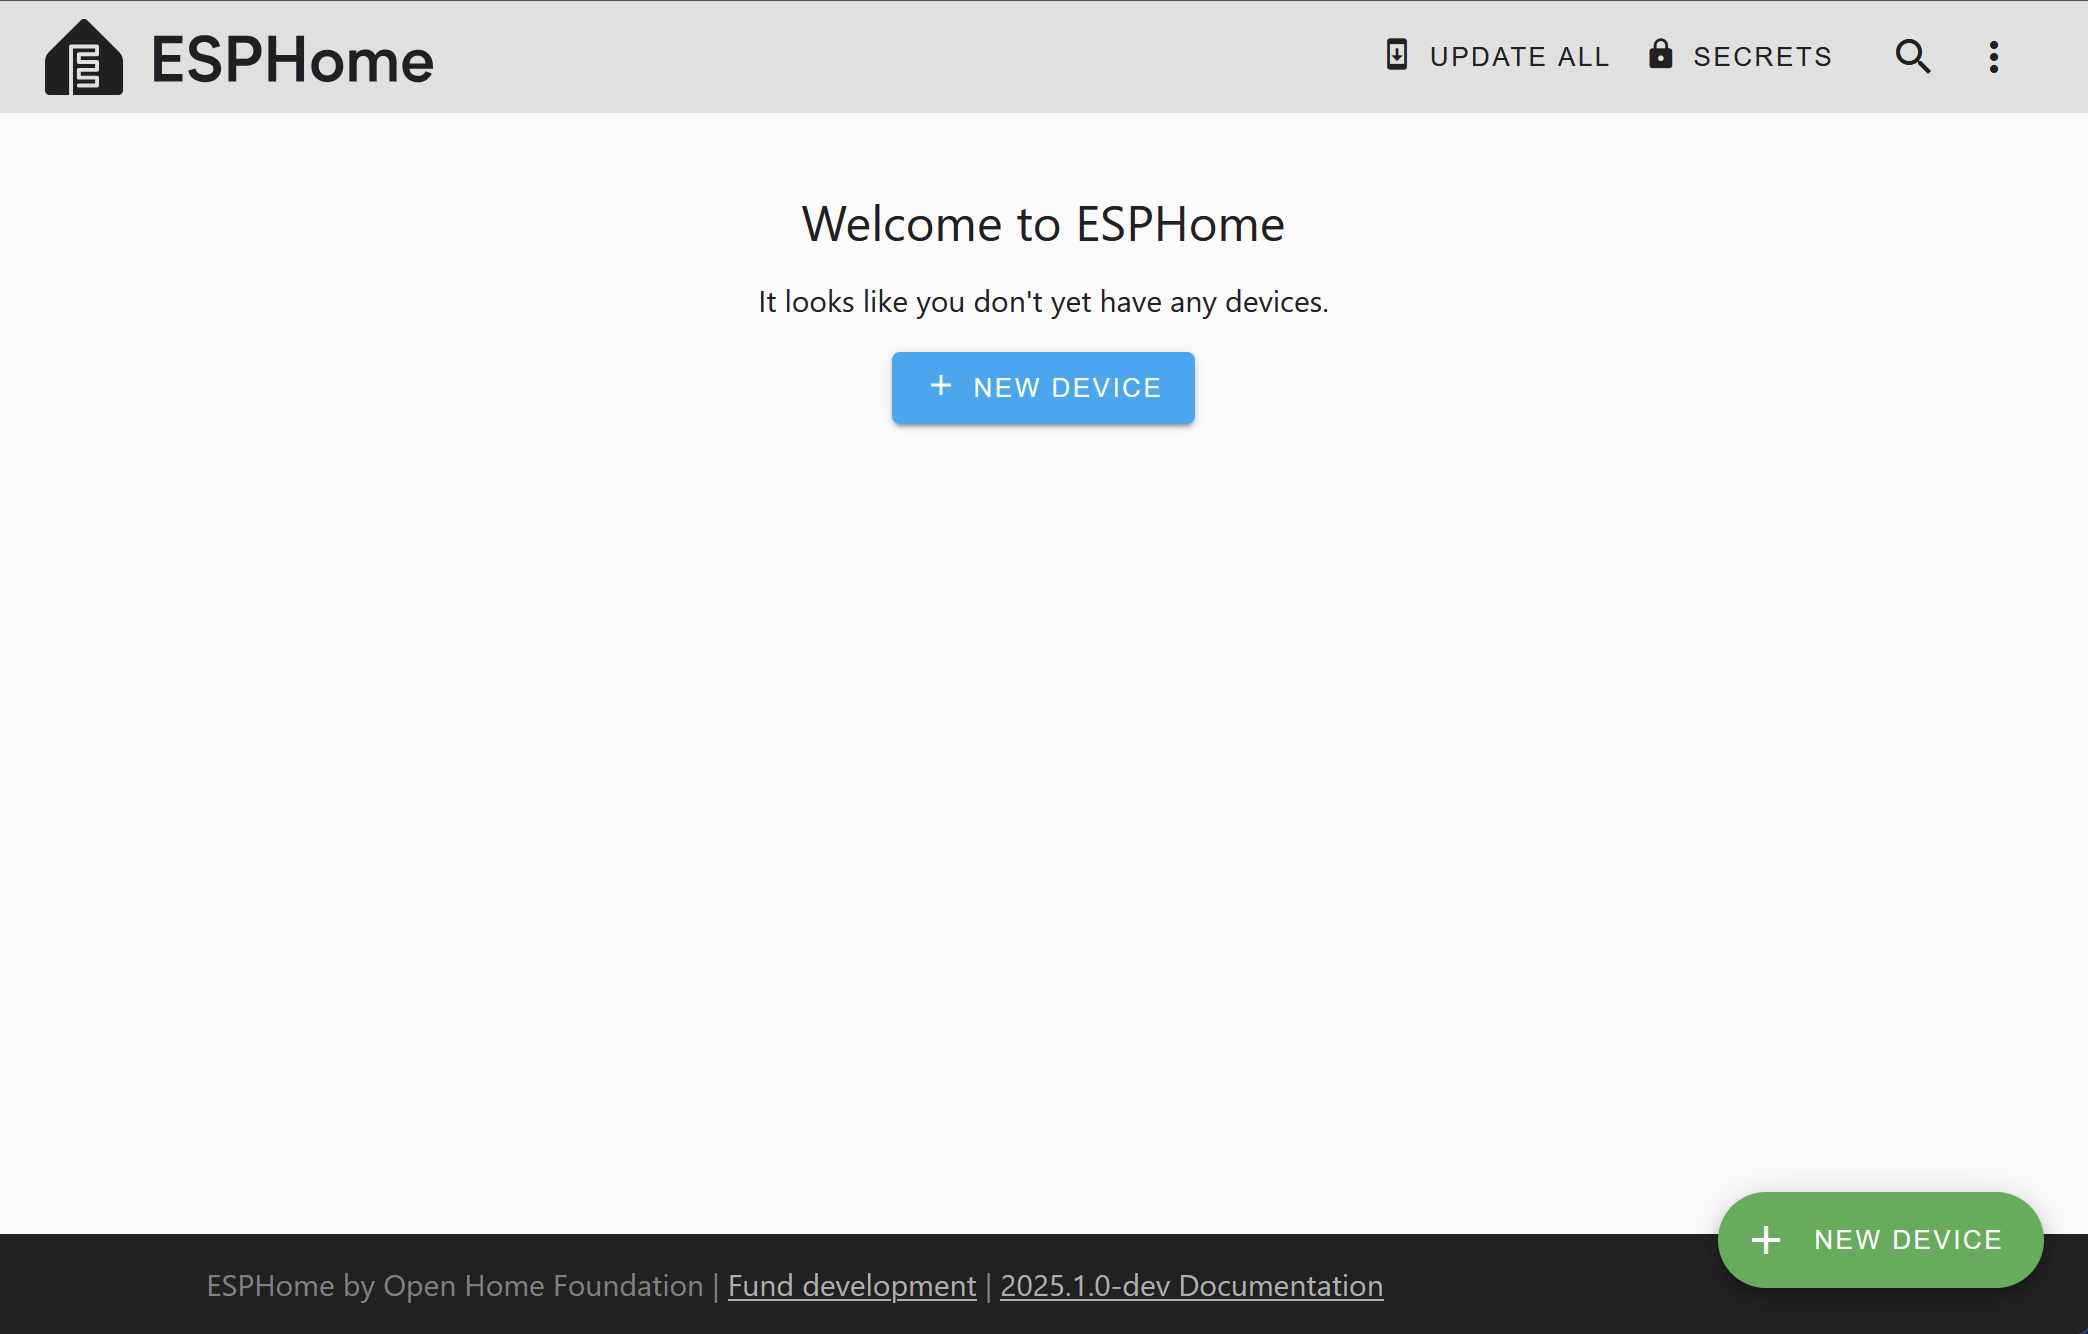
ESPHome Dashboard
Table of Contents
Requirements
Hardware
The following items will be required
1 * ESP8266 12F
USB to UART board. e.g SiLabs CP2102
Lots of breadboard wires
connect

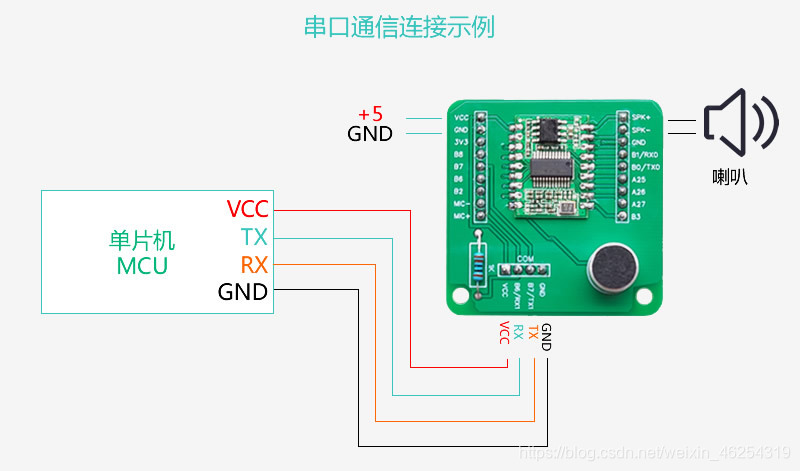
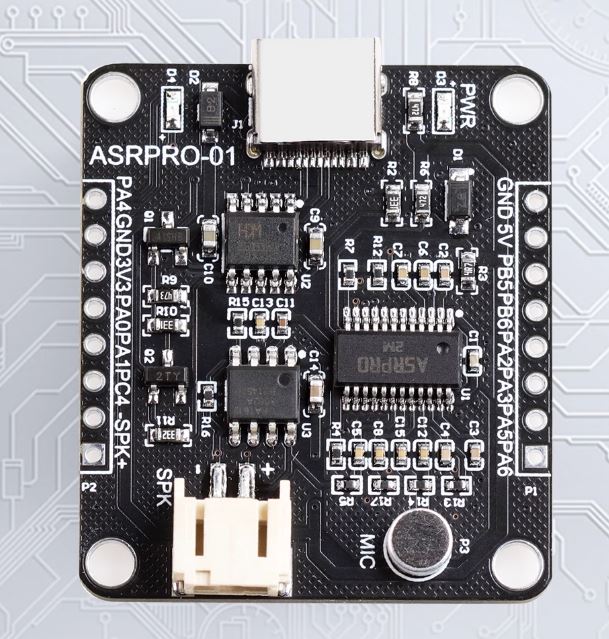
Lu asp -pro-01

power in:5v
power gnd:gnd
source:taobao
ESP8266 Wi-Fi Development Board 12f
power out:VU 5v
power out gnd:gnd
source:taobao
connect esp8266 to asrpro-01
5V(VU) -> 5V
G -> GND
TX -> PB6
RX -> PB5
Software
Installing ESPHome Dashboard In Home Assistant OS
Installing ESPHome Dashboard In Home Assistant OS
Step 1. Install ESPHome addon on hassos
add https://github.com/esphome/home-assistant-addon.git

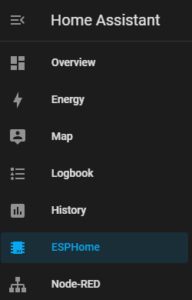
search  ESPHome

Install ESPHome addon
source:http://localhost:4999/boards/topic/5262/home-assistant-esphome-series-esphome-esp8266-esp32/page/2#44517
Step 1.1 Installing ESPHome Dashboard
Step 1.2 Go to ESPHome Dashboard In Home Assistant OS
Step 2. Build the firmware for ESP8266 with ESPHome Dashboard
Note
You could try on a PC with a decent amount of ram, although I am not entirely convinced that is the problem.
Now, you can follow these steps to flash firmware for ESP8266 required to make the ESP8266 work with the microphone and speakers.
Build the firmware for ESP8266 with ESPHome
Build the firmware with the modules you need

Step 2.1: Create a new device in the ESPHome dashboard by clicking on “New Device” in the bottom right-hand corner.

Configure device in Home Assistant
Install ESPhome using the Manual Download method
Step 6: click on “Save” and then click on “Install” on the top right-hand corner.
Step 7: Now, click on the “Manual Download” option and then choose “Modern Format”.
Compiling .pioenvs/test1/src/main.cpp.o
Linking .pioenvs/test1/firmware.elf
RAM:   [====      ]  43.7% (used 35760 bytes from 81920 bytes)
Flash: [=====     ]  51.1% (used 533433 bytes from 1044464 bytes)
Building .pioenvs/test1/firmware.bin
esp8266_copy_factory_bin([".pioenvs/test1/firmware.bin"], [".pioenvs/test1/firmware.elf"])
esp8266_copy_ota_bin([".pioenvs/test1/firmware.bin"], [".pioenvs/test1/firmware.elf"])
========================= [SUCCESS] Took 41.57 seconds =========================
INFO Successfully compiled program.
Step 8: Save the file to your computer.
Step 3. Flash ESP with compiled firmware(.bin) using ESP Web Tools
Step 9: Open https://web.esphome.io. in Chrome or Edge browser.
Flash the firmware to the chip
This determines the boot mode (e.g Boot program from ROM, boot into flashable mode)
Reset the esp8266 by disconnecting and reconnecting the power.
view logs
visit http://test1.local/
Time	level	Tag	Message
15:58:57	[W]	[component:237]
Component api took a long time for an operation (288 ms).
15:58:57	[W]	[component:238]
Components should block for at most 30 ms.
15:58:58	[D]	[api.connection:1375]
Home Assistant 2024.5.5 (192.168.2.50): Connected successfully
15:59:59	[D]	[api:102]
Accepted 192.168.2.120
16:00:00	[W]	[component:237]
Component api took a long time for an operation (289 ms).
16:00:00	[W]	[component:238]
Components should block for at most 30 ms.
16:00:01	[D]	[api.connection:1375]
ESPHome Logs 2024.7.2 (192.168.2.120): Connected successfully
16:00:01	[I]	[app:100]
ESPHome version 2024.7.2 compiled on Aug  4 2024, 10:23:22
Update
http://test1.local/
Comments
Comments are closed